La nascita di Bruno, ovvero prendere letteralmente e in senso lato l’espressione “dare alla luce”.

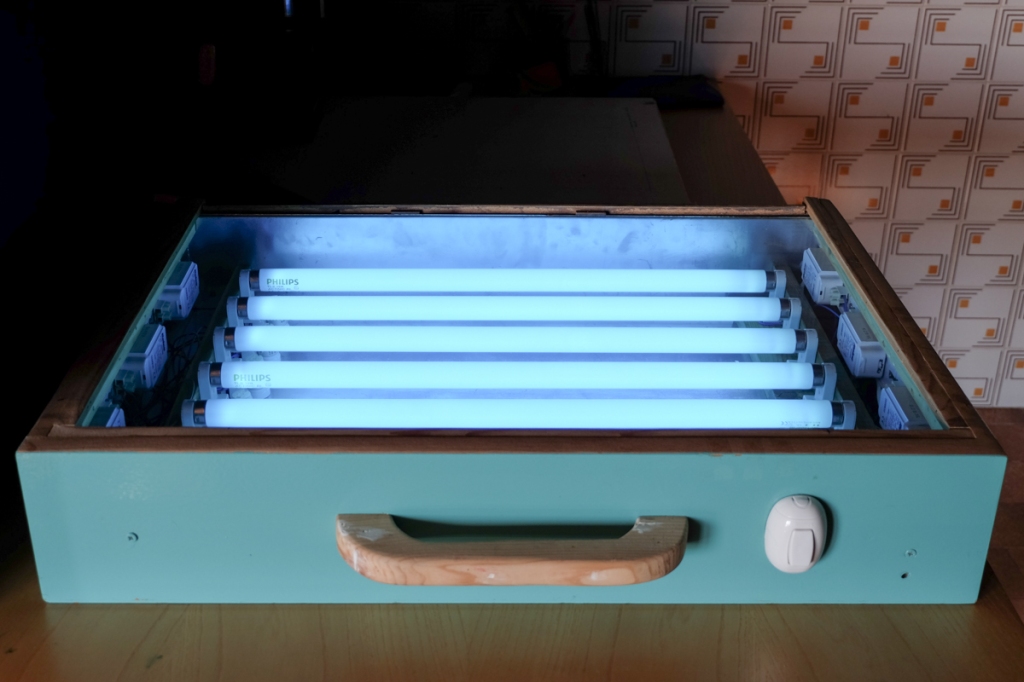
È con immenso piacere e con un filo d’orgoglio che vi presento Buno, il mio bromografo autocostruito.
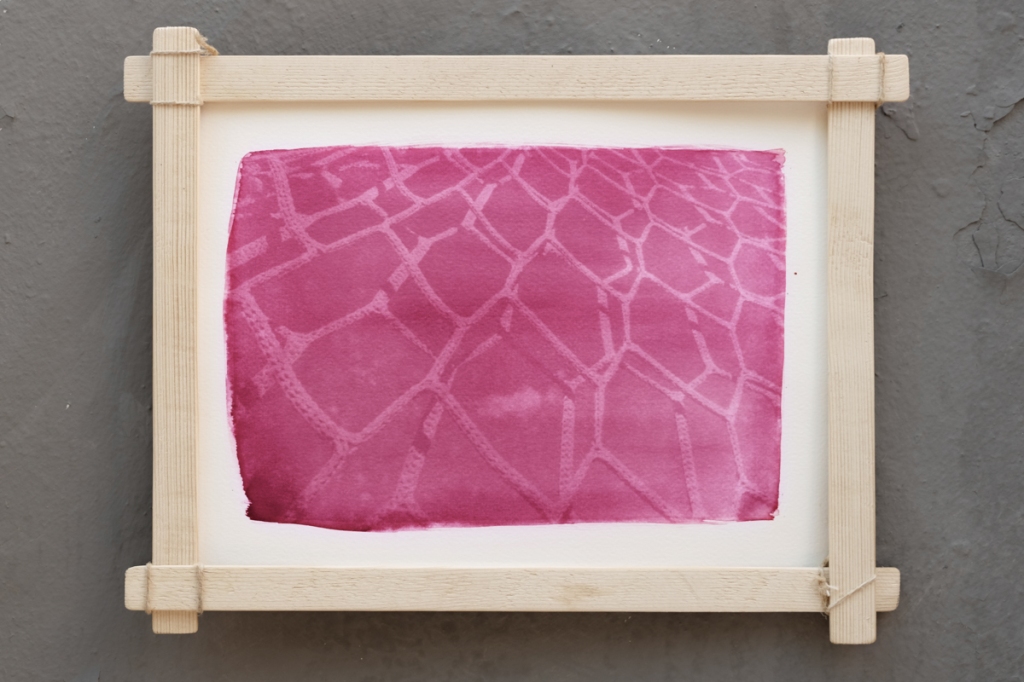
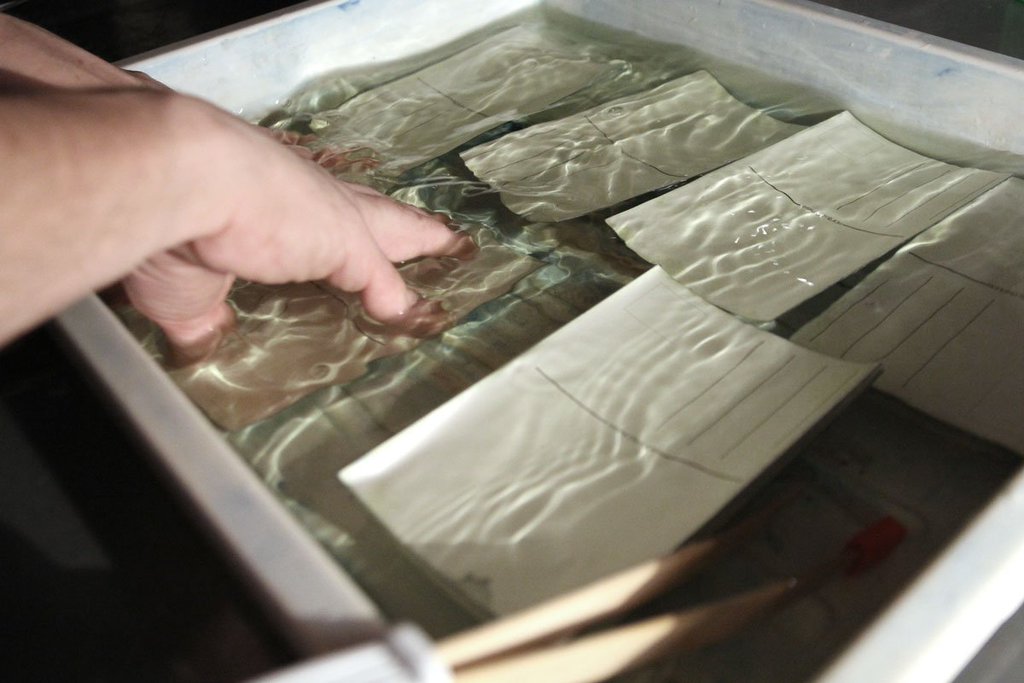
Il bromografo è uno strumento che permette di effettuare stampe che necessitano di luce ultravioletta, come la cianotipia i cui componenti fotosensibili dell’emulsione reagiscono ai raggi UV. In mancanza del sole (bromografo d’eccellenza), per ottenere una serialità e dei risultati più precisi mi sono decisa a costruirlo.
Quello che occorre è:
- lampade al neon UV, considerandone la lunghezza come estensione massima della stampa che si andrà a realizzare, i miei sono da 60 cm.
- relativa componentistica che permetta ai neon di accendersi (da vera intenditrice di elettronica), reattori, starter e portastarter, portaneon, fili elettrici e interruttore per l’accensione. Esistono anche dei portalampada per i neon che hanno già tutti i componenti all’interno, nel mio caso volevo complicarmi la vita, o meglio, quella di mio padre.
- un contenitore per alloggiare i neon e tutto il necessario, io ho rovistato in soffitta e mi sono appropriata di un vecchio cassetto.
- una vernice bianca o riflettente (è sufficiente anche della semplice carta stagnola da cucina) da dare sul fondo del contenitore per aumentare le prestazioni dei neon e per dare maggiore omogeneità alla luce che si proietterà sulla superficie fotosensibile.
- un vetro per chiudere la parte superiore, dove verranno appoggiati i negativi e la carta fotosensibile per le stampe a contatto.
Quello che occorre poi è un po’ di sana pazienza e un minimo di conoscenza elettronica per collegare i componenti in modo che funzionino, oppure, la conoscenza di qualcuno che lo faccia al posto nostro 🙂


The birth of Bruno
It is with immense pleasure and a hint of pride that I present to you Bruno, my self-built bromograph.
A bromograph is a tool used to make prints that require ultraviolet light, such as cyanotypes, whose photosensitive components of the emulsion react to UV rays. In the absence of sunlight (a top-notch bromograph), to achieve seriality and more precise results, I decided to build it myself.
What you need is:
- UV neon lamps, considering their length as the maximum extension of the print you will be making; mine are 60 cm long.
- the relative components to allow the neon lights to turn on (as a true electronics enthusiast), ballasts, starters and starter holders, neon holders, electrical wires, and a switch for turning on. There are also lamp holders for neon lights that already have all the components inside; in my case, I wanted to make things complicated for myself, or rather, for my father.
- a container to house the neon lights and everything needed; I rummaged through the attic and took an old drawer.
- white or reflective paint (simple kitchen aluminum foil is also sufficient) to apply to the bottom of the container to increase the performance of the neon lights and to provide greater uniformity to the light projected onto the photosensitive surface.
- a glass to close the top part, where the negatives and the photosensitive paper for contact prints will be placed.
Then, what you need is a bit of good patience and a minimum of electronic knowledge to connect the components so that they work, or the knowledge of someone who can do it for us 🙂